Calibration Check
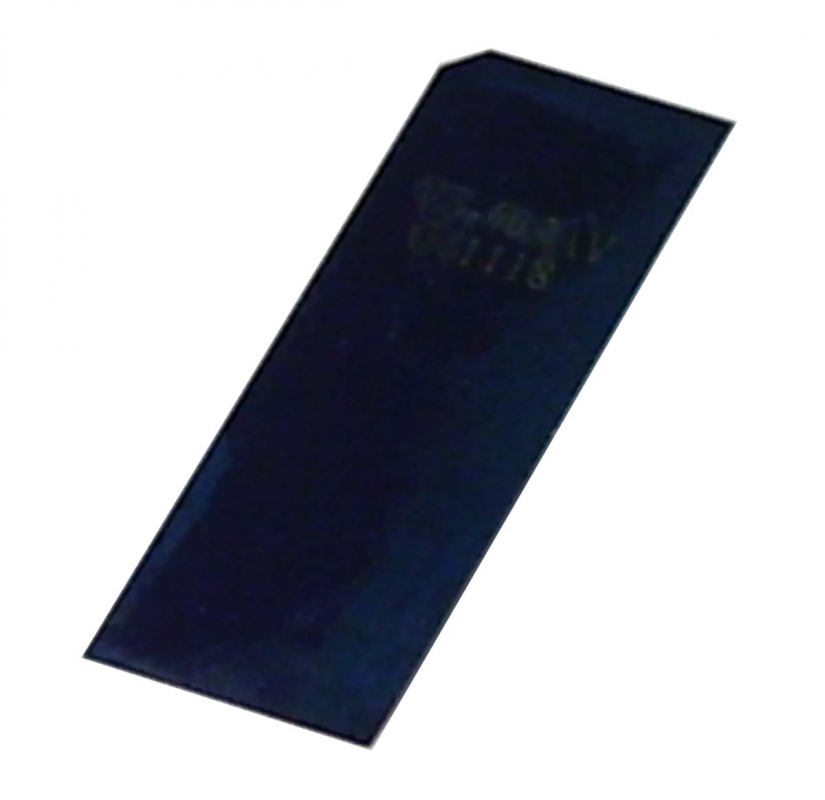
To determine if the Taber Stiffness Tester is operating correctly, a calibration check should be conducted prior to each use. Spring steel specimens with an average stiffness result scribed on them are used as the standard for this purpose. If the stiffness reading of the standard varies more than plus or minus 1% of full scale [± 1 stiffness unit of the 100 unit range; ± 5 stiffness units of the 500 unit range; ± 10 stiffness units of the 1000 unit; etc.], the instrument must be returned to the factory for calibration.
Five spring steel calibration specimens are available:
-
Calibration Specimen 62 [supplied with instrument]
-
Calibration Specimen 225
-
Calibration Specimen 440
-
Calibration Specimen 565
-
Calibration Specimen 1060


